In this post we are going to setup tools to create simple websites for use on the Arduino platform using the ESP8266. The coding tool I will be using is Visual Code by Microsoft and adding plugins to provide a WYSIWYG development environment.
Visual studio code and be downloaded from here https://code.visualstudio.com/. Visual code provides a rich streamlined environment for creating code in a multitude of languages including syntax highlighting and IntelliSense. We will be using this tool not only for these simple web pages but to create raspberry pi applications and deployments to Azure cloud.
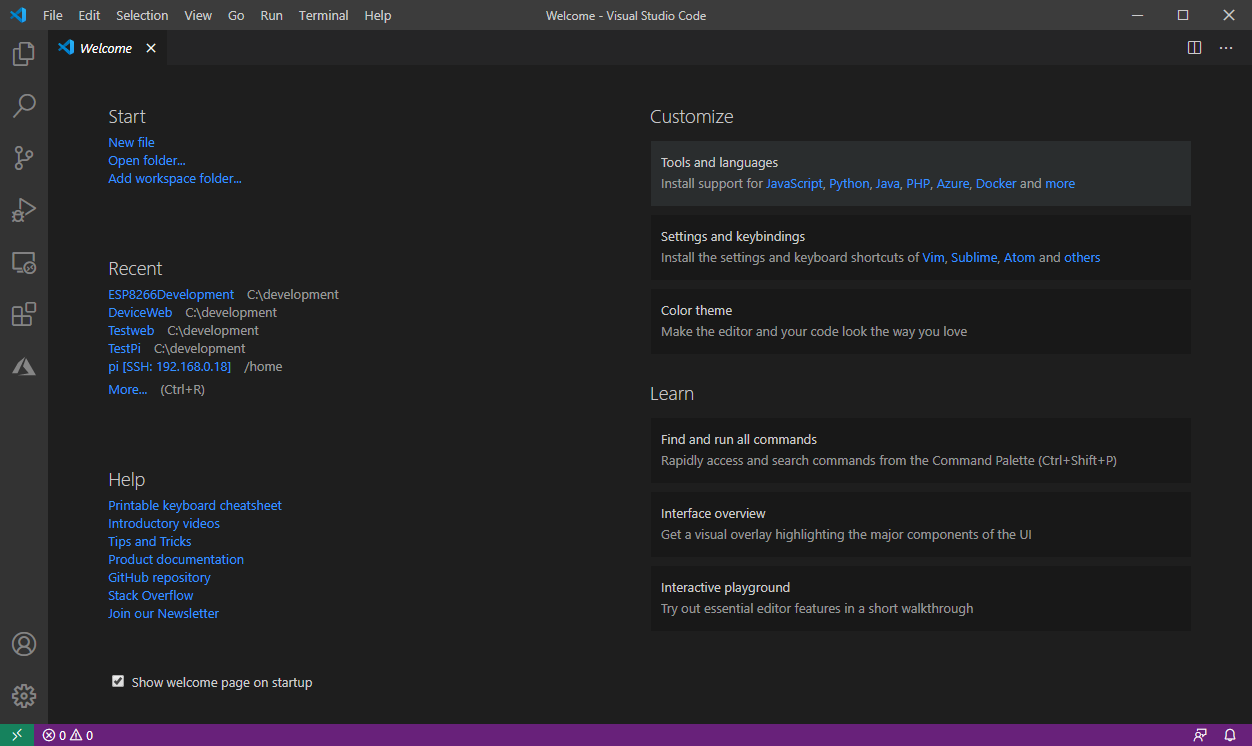
After installing VS Code we should see a screen like this.
Adding the Live Server Plugin
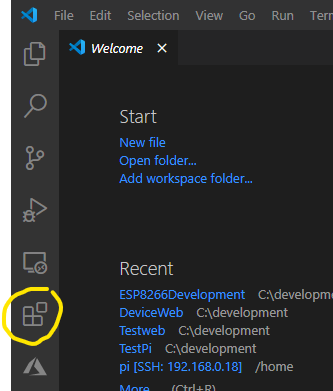
Next we want to add a plugin to display the web site as we create it.
Click on the Plugins icon on the left hand tool bar
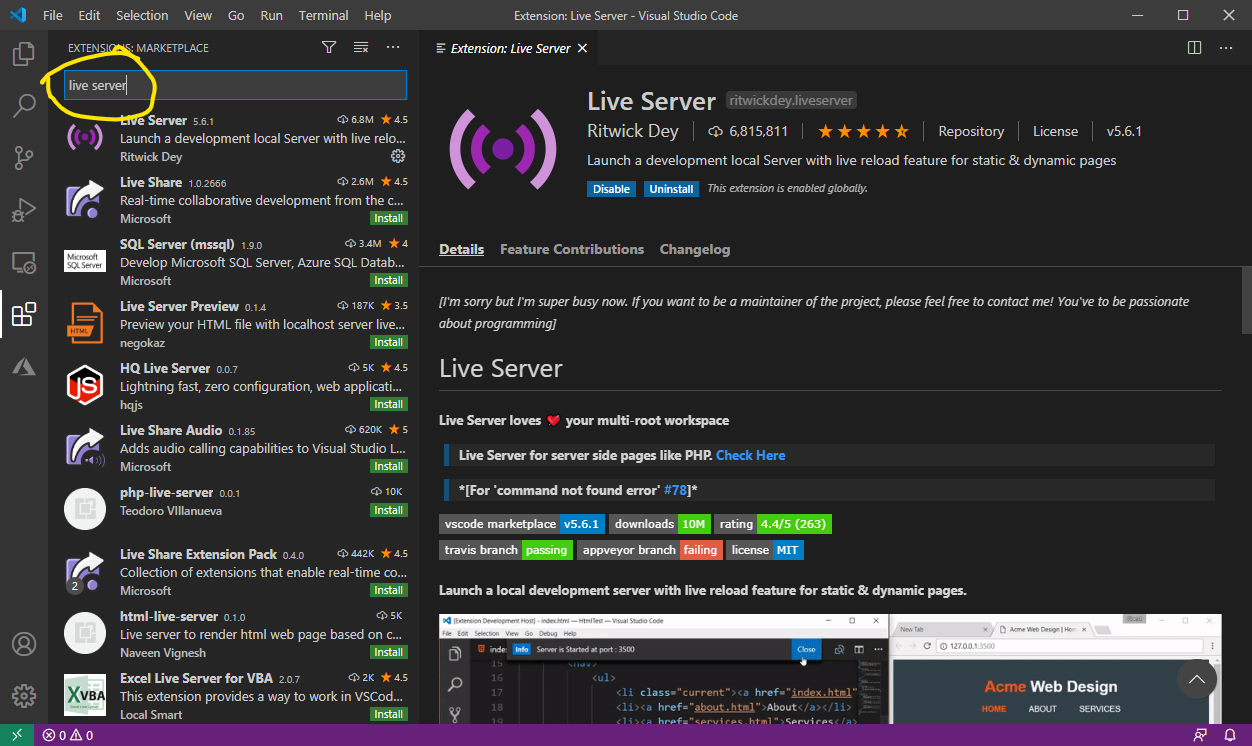
On the plugins screen search for live server and click install
Adding Content
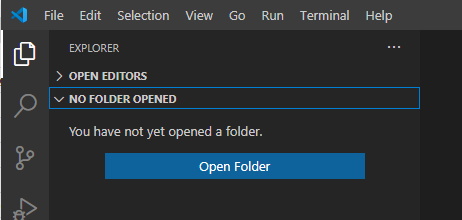
Select the Explorer Icon on the left tab and add a new folder for our code. Then create a new html file.
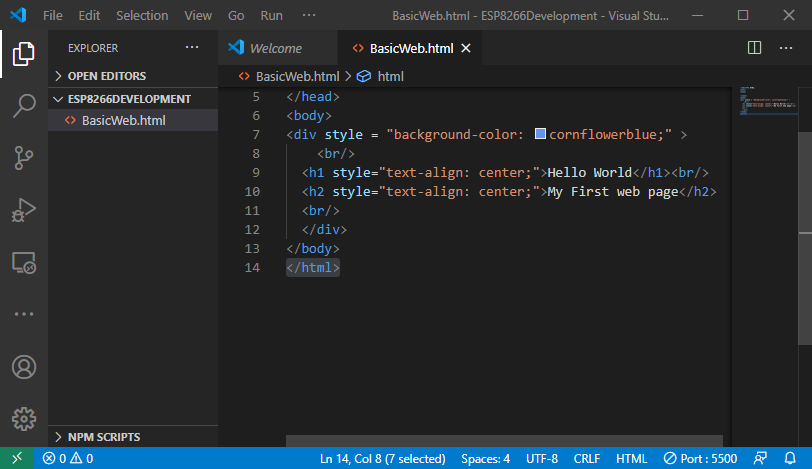
Add the page code from the previous post into the file.
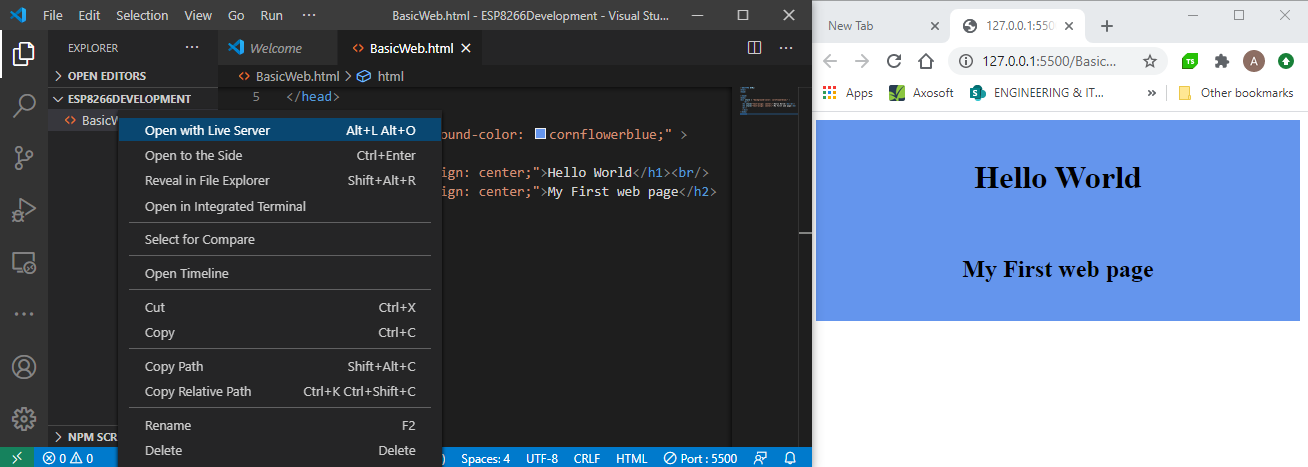
Showing the web site in live server
Clicking on the “Open with Live Server” link will open up a browser window with the content of the web page. The Web Page will be updated every time you save the page.
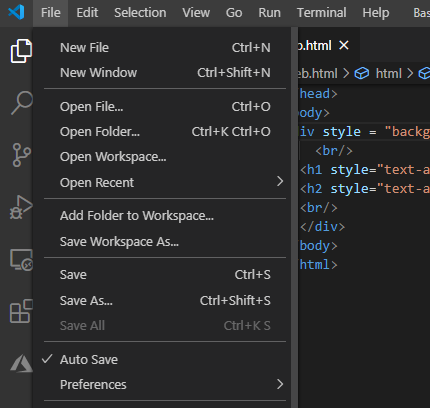
Select Auto Save from the file menu to automatically reload the web site after a small delay
Edit the HTML and note that the Web Site is now updated automatically.
Summary
In this blog we introduced Visual Studio Code to create a basic web site with WYSIWYG editing. I will be be using this tool to create the web pages for future Arduino pages and later on a web site hosted on a raspberry PI.
A great Source for learning HTML and CSS can be found here. https://www.w3schools.com/